Last week we explained how to change brake discs – and solve the problem of pulsing brakes.
Whenever you change discs, you also need to change pads so they work in proper alignment with the new discs to prevent warping them again. You might also want to change pads if they have worn down over time. If this is the second set of pads you’ve fitted, you may need new discs – check if they’ve reached their service limit.
Take note of the two main types of caliper you might find. Calipers like the Brembos shown will have retaining pins. The other type will use two bolts to retain the pads. In both cases, you can follow the steps below…
1. Remove the calipers
Look for the two bolts that hold the calipers to the front fork assembly. Over time, these bolts may become tight, so a bar for extra leverage may help.
If your bike has retaining bolts to hold the brake pads in place, undo them slightly before you take the caliper off, otherwise they will be difficult to crack. Then remove the caliper from the disc. It might be neccesary to push the pads back slightly.
2. Remove the retaining pins and the pads
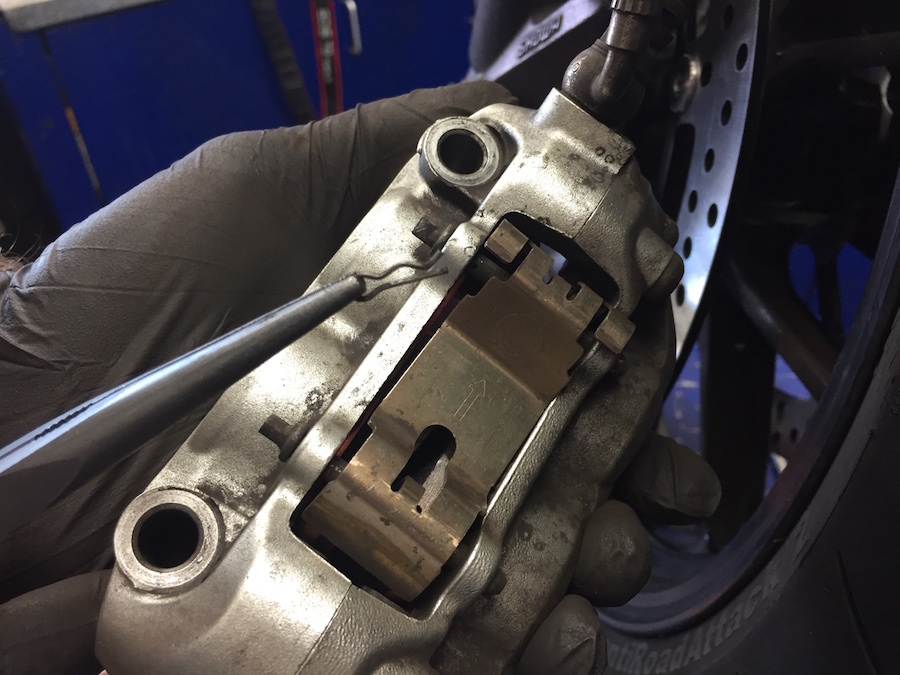
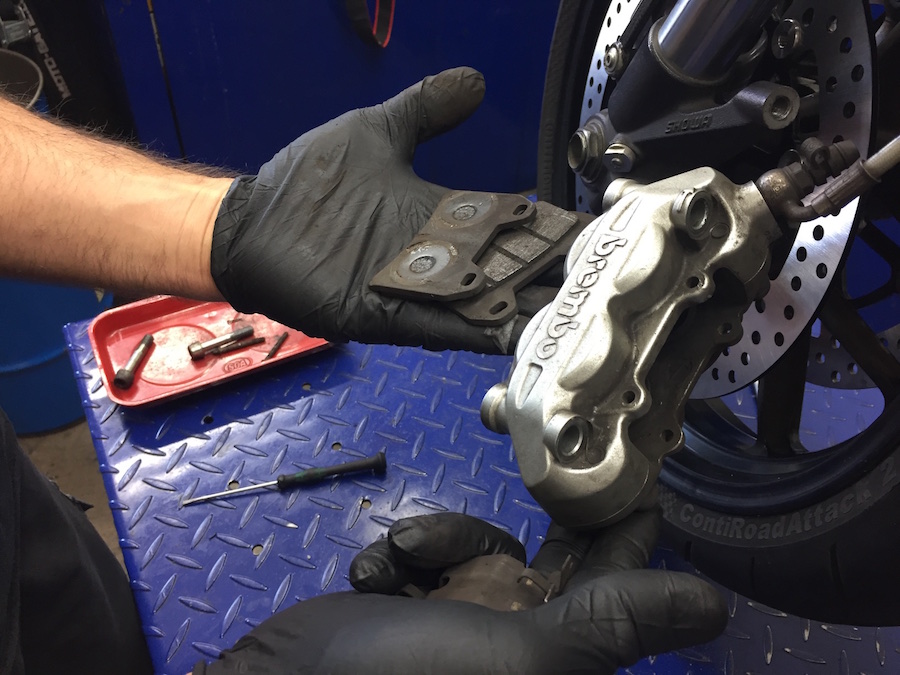
If your bike has split-pins securing the brake pad retaining pins (like our Brembo units), use a pair of pointy nose pliers to remove them, then the retaining plate can be removed.
3. Remove the brake pads
There should now be nothing holding in the brake pads so you can take out the old ones through the back where the retaining plate was fitted. A build-up of residue will have accumulated so check the pistons and surrounds. If there is any sort of rust or heavy residue, it may be time to rebuild or replace the calipers.
4. Clean the pistons and calipers
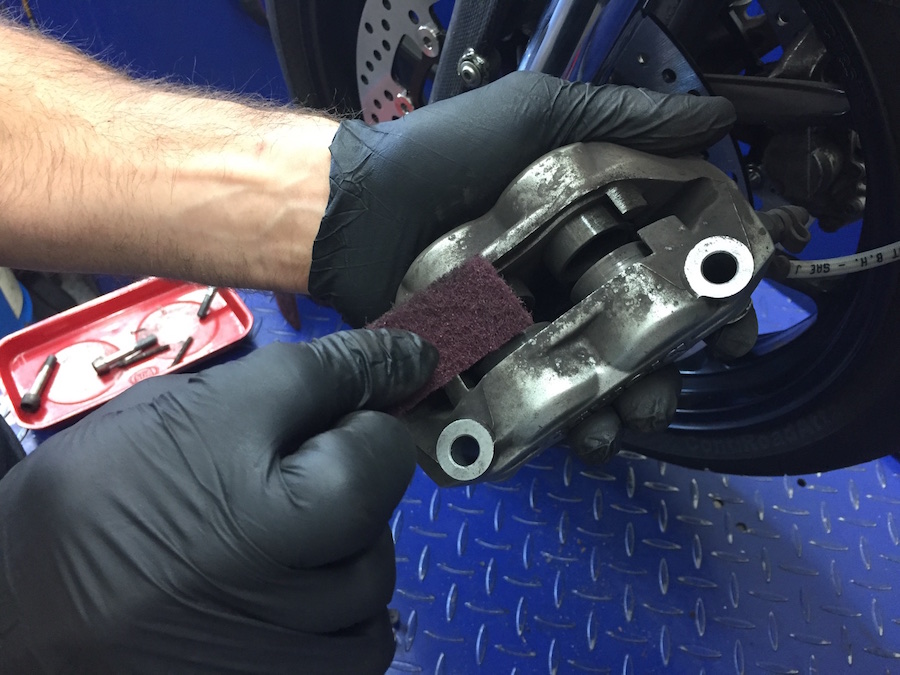
Use a light scourer to lightly rub back the pistons and remove any build-up. Any sort of residue can cause problems by interfering with the seals. It’s best to keep these parts as clean as possible. Also check for stuck pistons by slightly applying the brake lever; all pistons should move at the same time.
5. Install the new pads
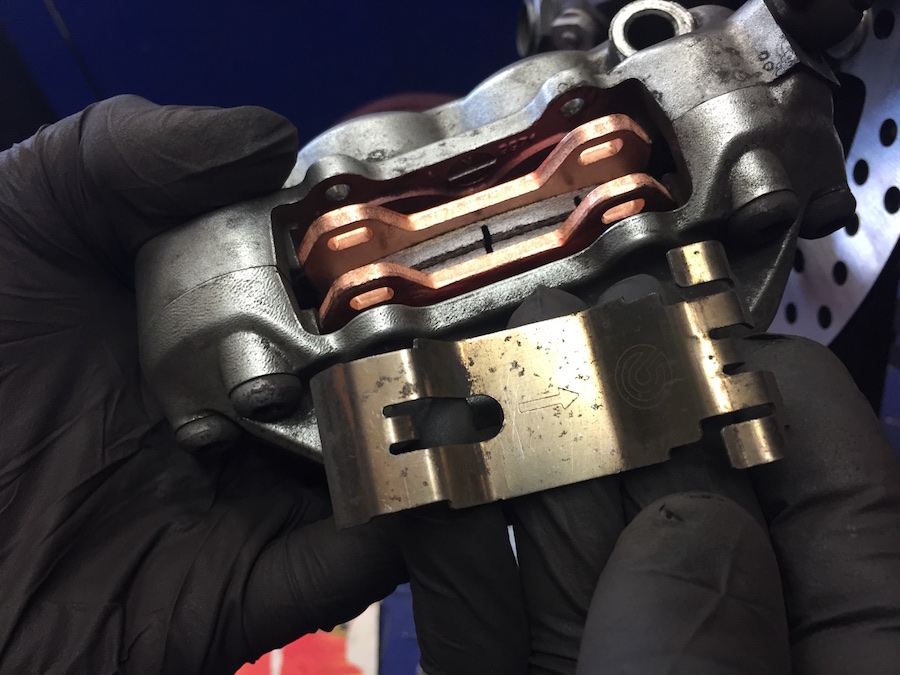
Anti-squeal spray will curb any nasty sounds, but it isn’t necessary. New pads on old discs may squeal but can be rectified by smoothing the upper and lower edges of the friction material with a file.
With the new pads inserted, note that the pistons need to be fully retracted so there is enough space to get them around the discs. The pistons may be hard to push back, so a specialised tool might be required. Using a screwdriver is not recomended as you may damage the piston or pad.
6. Reattach the calipers
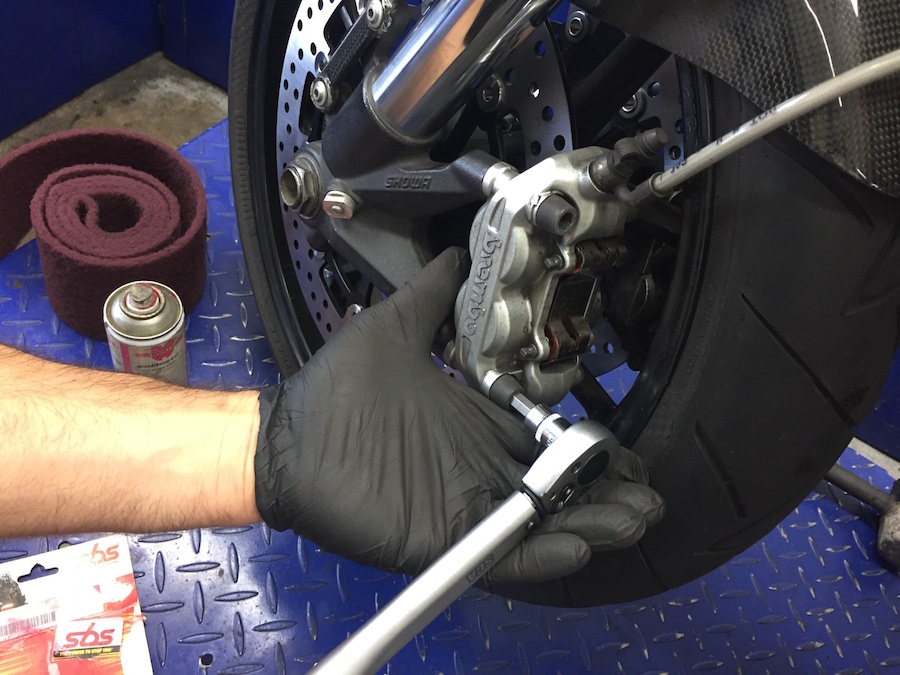
Use a torque wrench to reattach the calipers to the fork assembly. Make sure you refer to your owner’s manual for the correct tension.
7. Inspect brake fluid condition and level
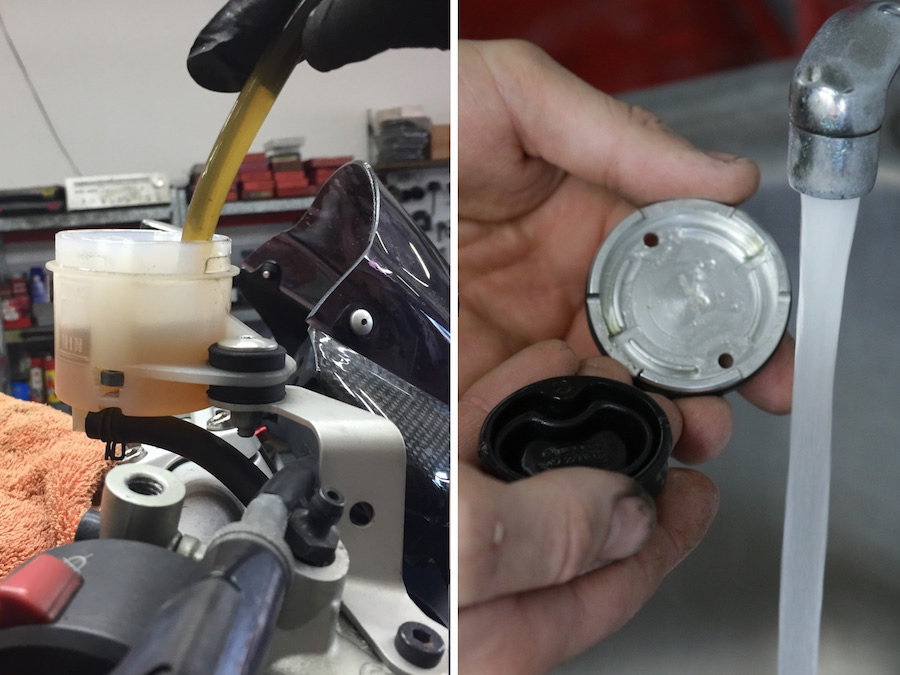
Always remove the old fluid from the master cylinder reservoir and clean the inside. You should also flush all the brake lines – they should be as clean and dry as possible (the brake fluid’s boiling point will be drastically lowered once it contains four per cent water). A syringe or vacuum pump is handy for this. Also take the time to clean the cap and rubber seal of the master cylinder.
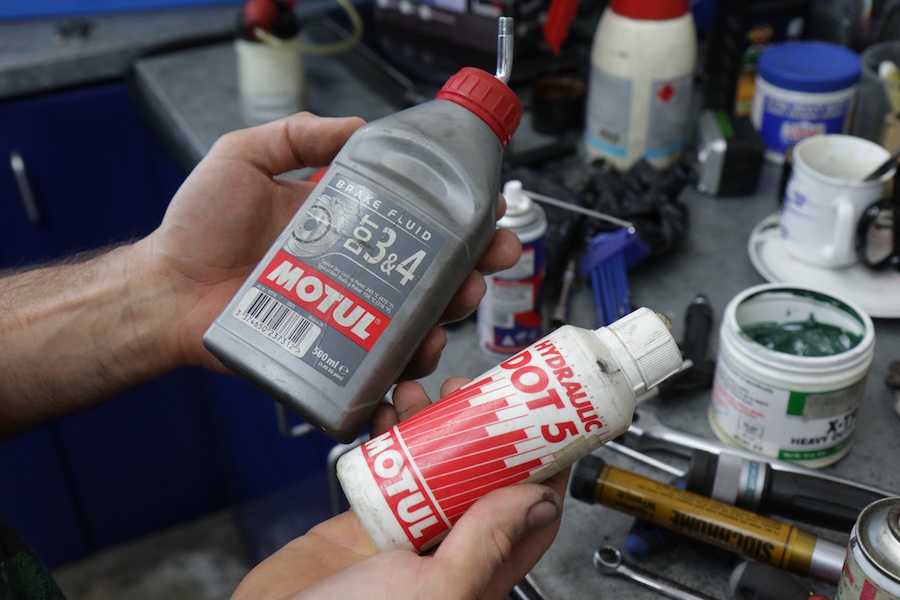
8. Dot 3, 4 or 5?
DOT 3 and 4 are polyethylene glycol-based fluids, DOT 5 is silicone based. Using DOT 5 in a DOT 3 or DOT 4 system without proper flushing will cause damage to the seals and may cause brake failure.
Never cross-contaminate brake fluid, and always consult your maintenance manual to find out which is the correct fluid for your bike.
9. Bleed the brakes
For strong, firm brakes, you want no air bubbles left in the brake lines or calipers, so it’s vital to bleed the system.
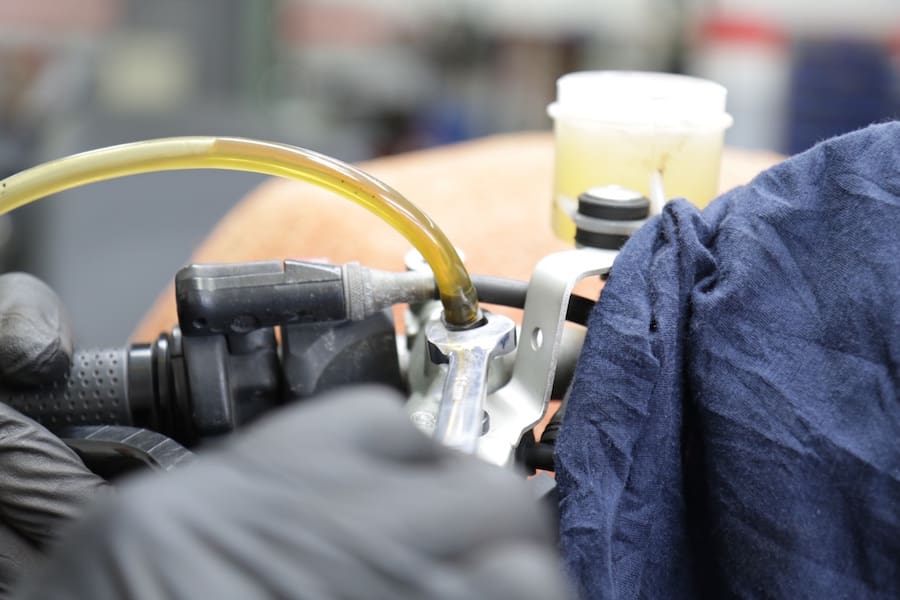
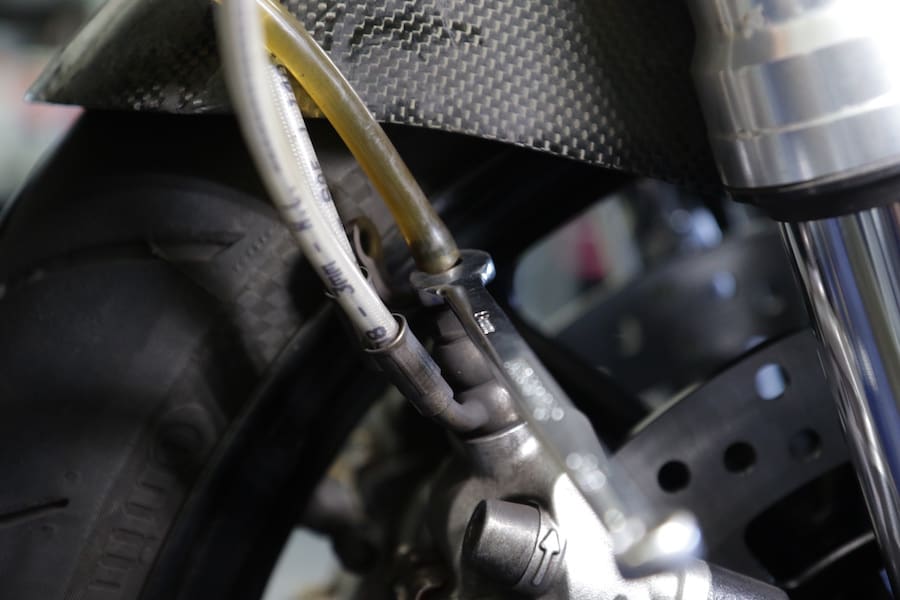
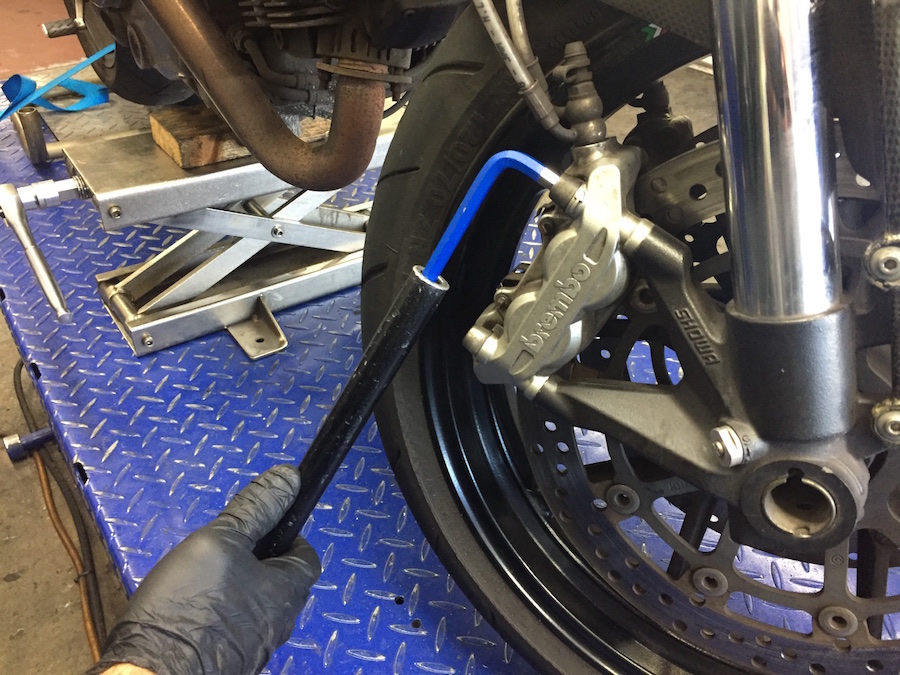
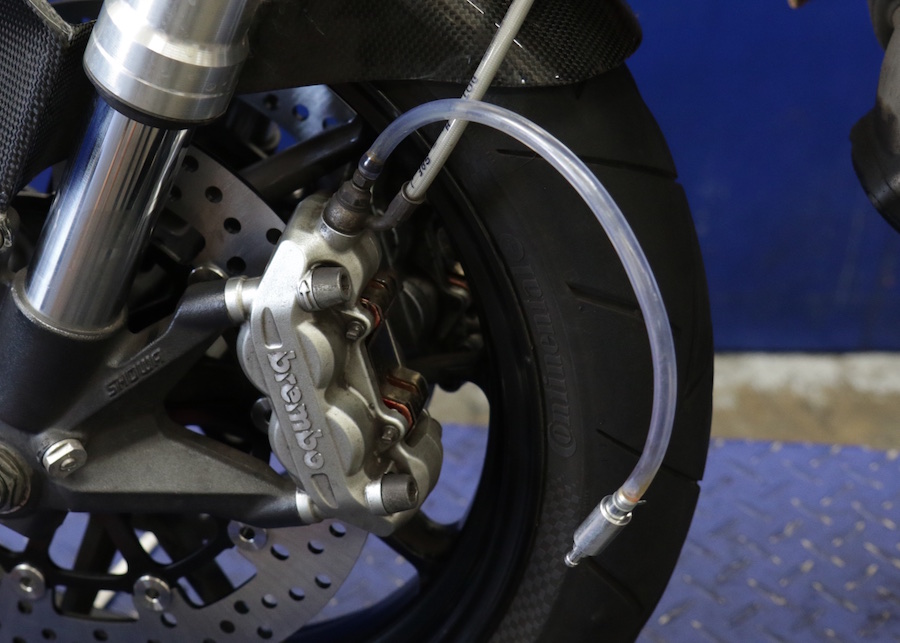
Attach a piece of rubber tubing to the bleeding nipples. In the picture I’m using a tube with a valve at the end (available from Motorcycle Accessory Supermarket). This valve creates just enough back pressure to release air bubbles. Place a drain cup at the end to catch any stray fluid because a little will come out.
10. Squeeze the lever – and tighten the nipple
There may be two nipples – one at the master cylinder and the other at the caliper.
After giving the lever a few pumps, loosen the nipple while keeping pressure on the lever. Old fluid will come into the tube and your lever will go soft. Tighten up the nipple, then let go of the lever. Repeat this process until you see the new fluid come out without any air bubbles.
You can simply use rubber tubing or a vacuum tool, but I like the tool pictured because it is so compact. It’s very important to keep topping up the reservoir during the bleeding process so air doesn’t get into the system through the master cylinder.
Thanks to Chris and Andre at
Northside Motorcycles
335 Pacific Hwy, Artarmon
(02) 9439 3549
